Food photography sounds simple on paper to the casual observer, but as anyone enrolled at photography school will happily explain, in practice it’s a tricky prospect to get that perfect shot. In short, there’s usually a lot more than meets the eye.
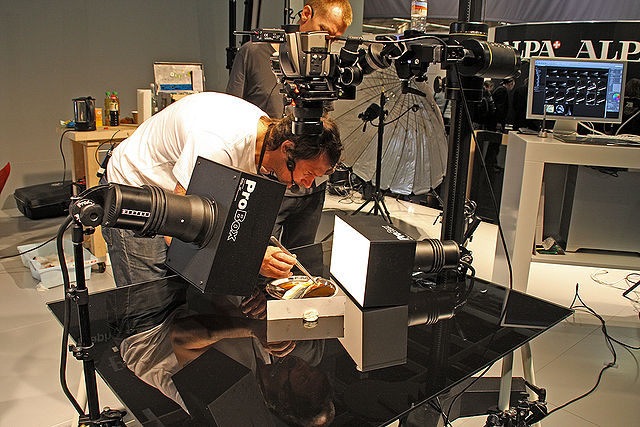
If you’re working towards the type of photography jobs that involve shooting cooked food or related products, a combination of one or more of the below tips might just help you seal the deal.
Unveiling our Top Five…
Food Photography Tips that Work Every Time
1. Pick Your Moment
It’s not always about the finished dish. Sometimes, the very best photo opportunities crop up at varying stage of the cooking process.
Consider that a lot of the appeal with food is how it smells. Of course, this is a a little tricky to convey through a static image, but imagine a portion of french onion soup in a bowl. Now compare it, in your mind’s eye, with a picture of a ceramic pot simmering on the gas range top of a homely kitchen, filled with steaming soup…
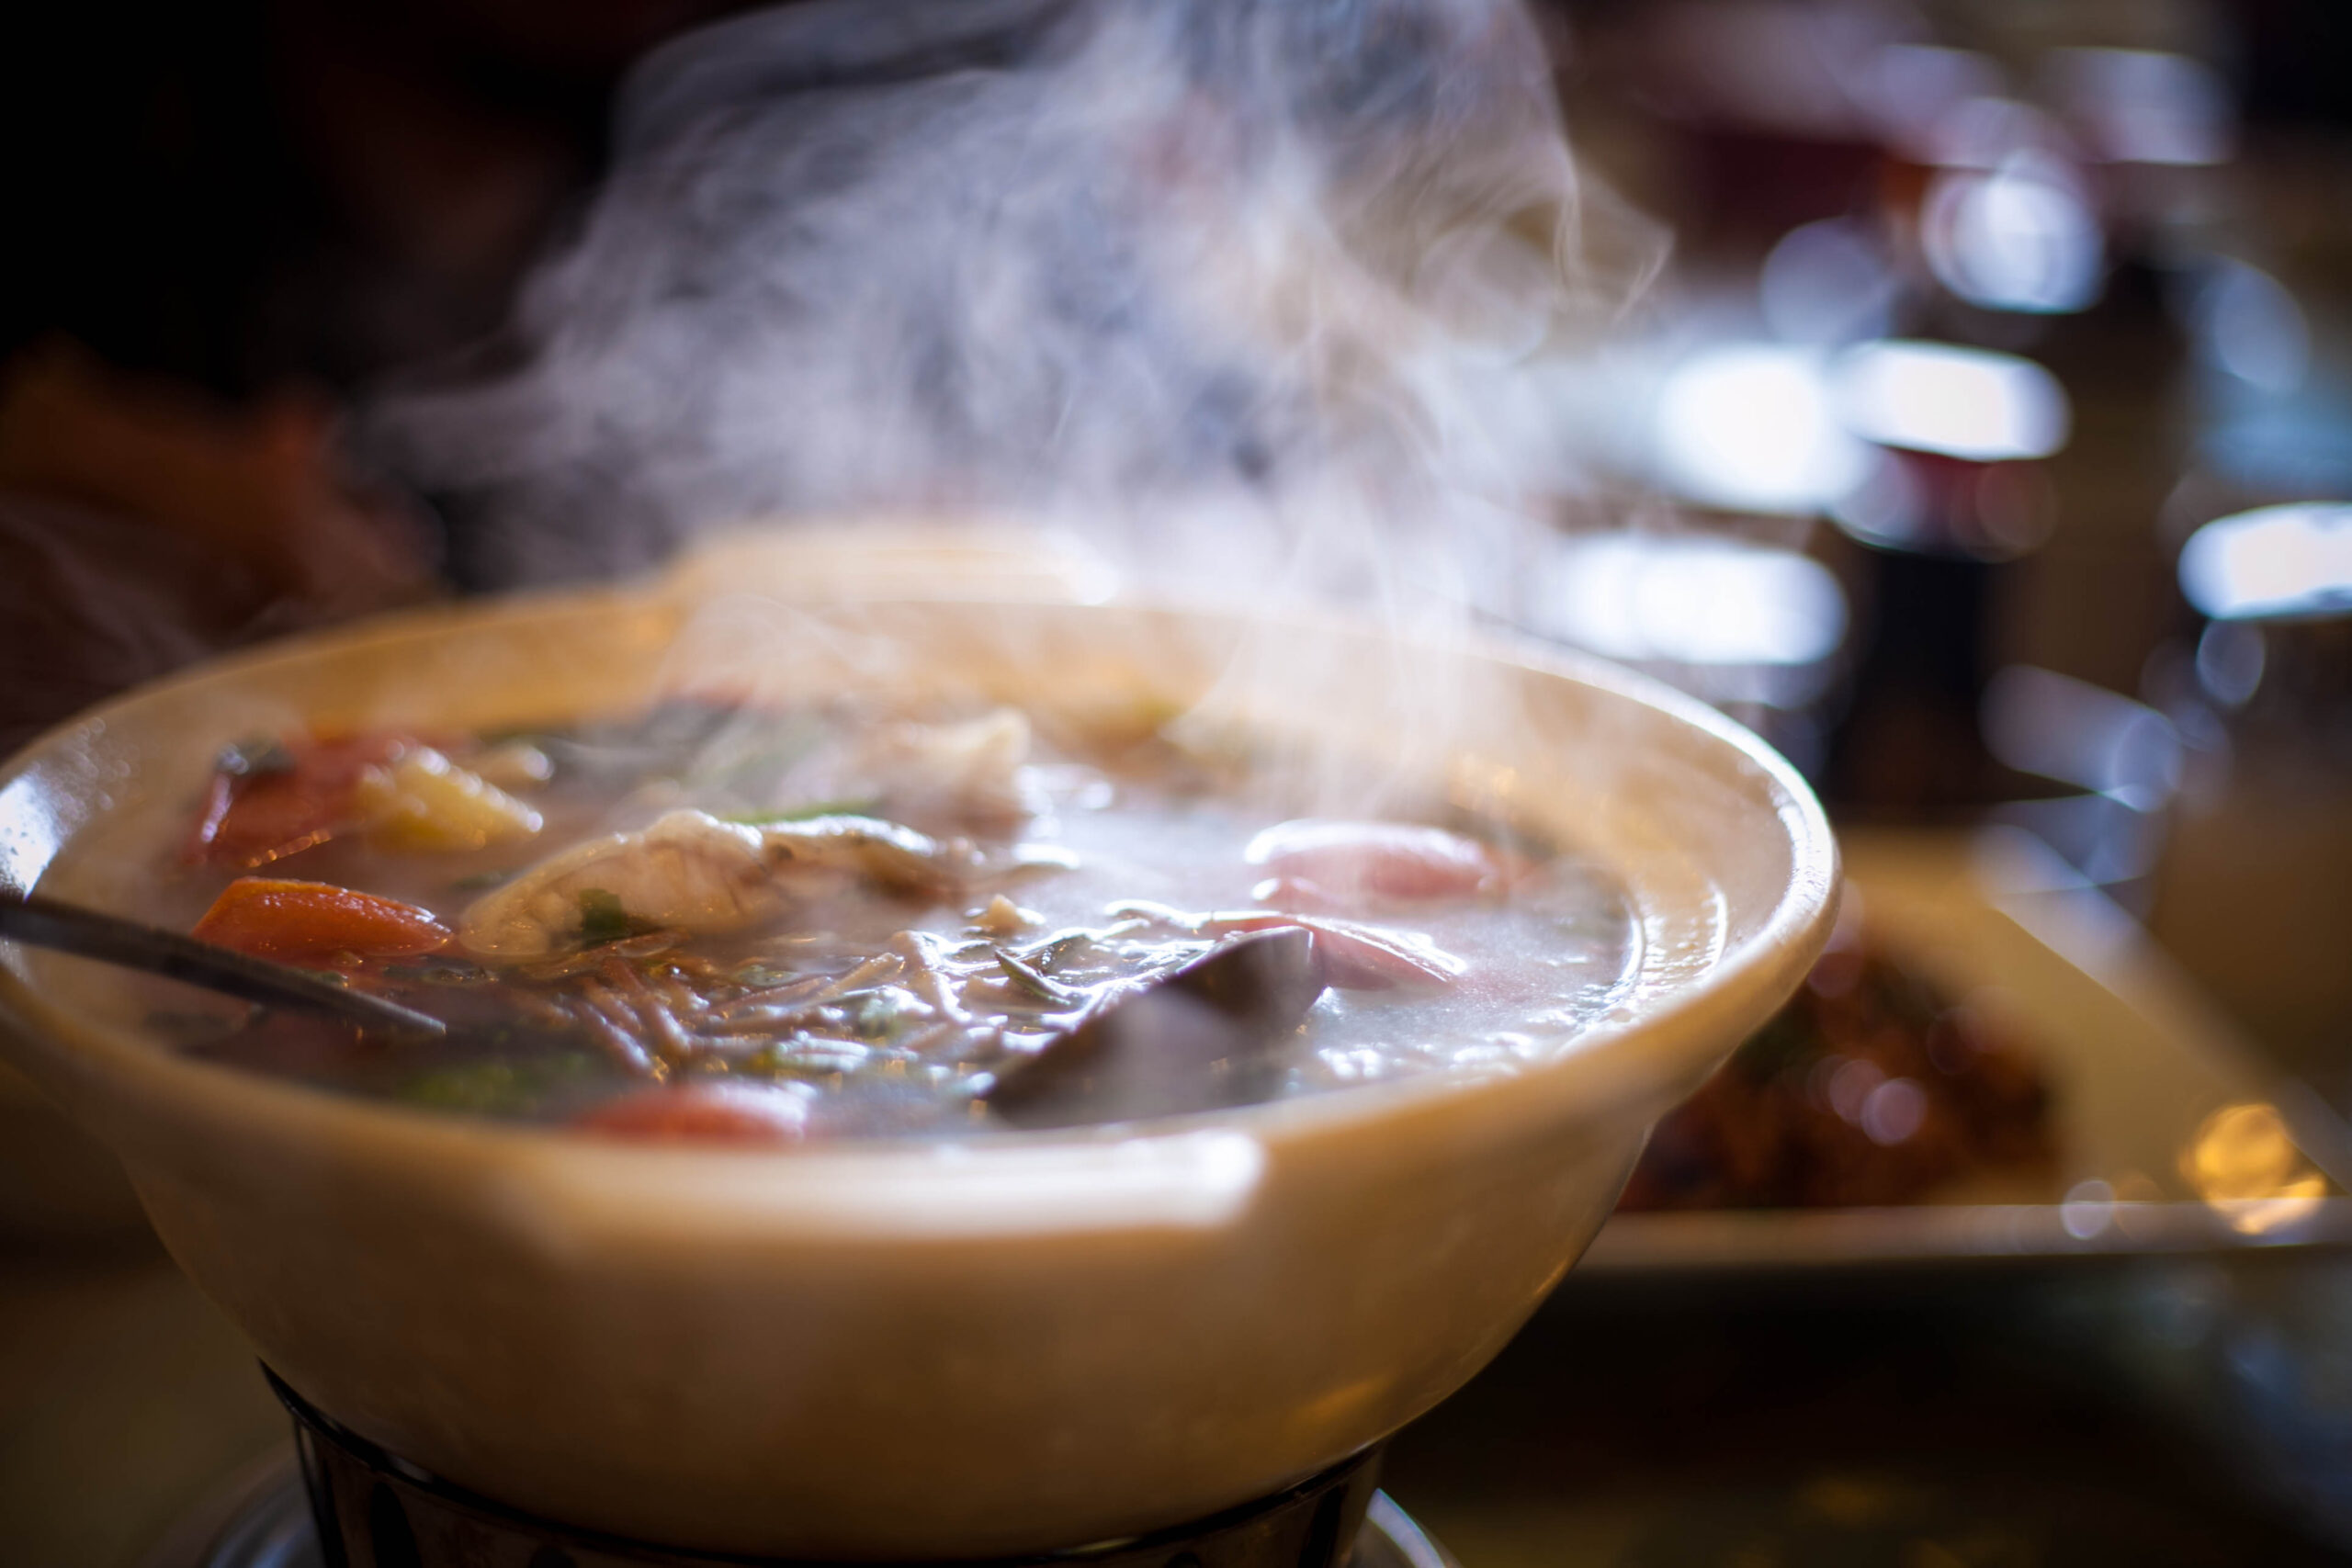
… you get the point…and we put those images and smells in your mind with just words. You’ve got actual photos to work with!
2. CO2
Speaking of steam, there’s one secret weapon in the food photographer’s arsenal: dry ice.
Because the window of opportunity to capture genuine steam on film is extremely fleeting, it’s one of the most photo-enhancing (and sometimes photo-saving) props you’ll ever use in food photography. Simply place a couple of pellets behind an item of hot food or beneath a dish of cold desert like icecream, and you’ll never want for steam again.
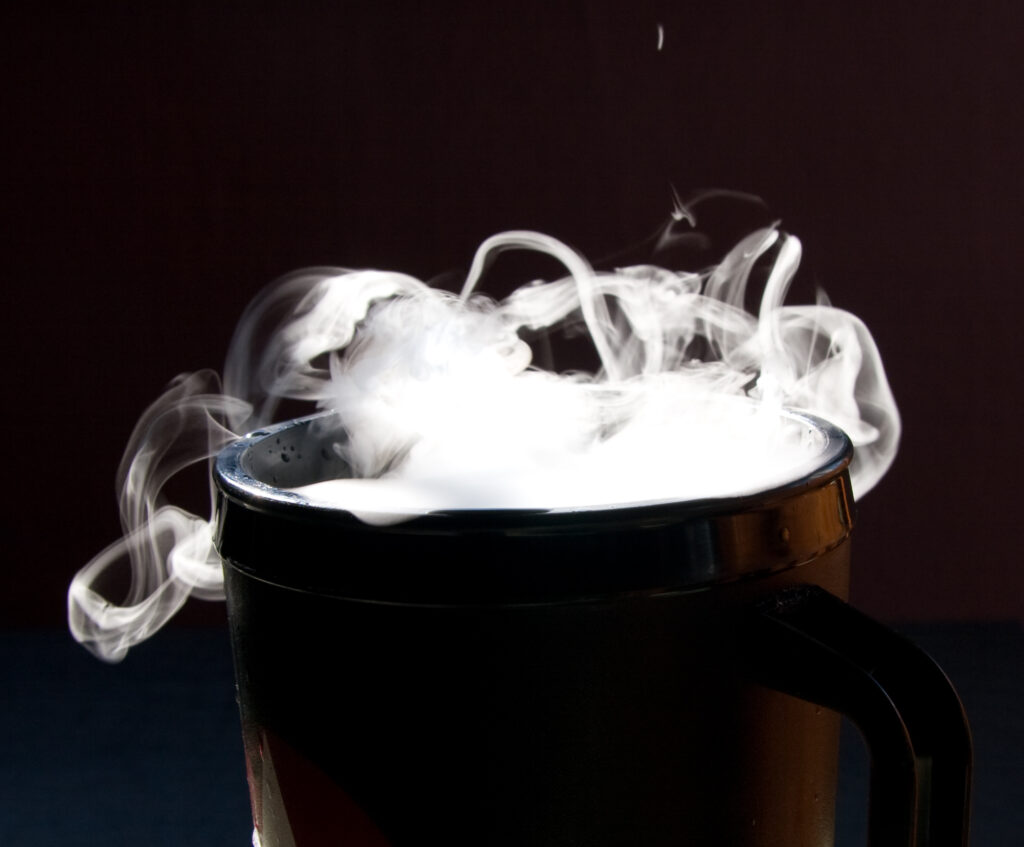
Plus, the kind of steam produced by dry ice looks absolutely brilliant on camera and is easier to shoot than the kind naturally produced by food.
3. The Devil’s In the Details
You can, and should, take a thousand shots of that plate of food. After all, in the digital age, there’s no downside to half-filling an SD card with shots of the same dish. But they’ll all be rendered useless if you notice afterwards that there’s a giant finger smudge on the side of the plate.
Check, double check, and triple check that the area surrounding the food is immaculate, or face one hell of a touch-up job in the editing suite afterwards.
4. Working With Liquids
Liquids can be a real challenge when it comes to food photography, and one particular scenario you’ll come across is the pouring of sauces. If you don’t quite capture it right first time, you can’t get the sauce off your perfectly prepared dish and back into the pot for you to try again.
To boot, sauces usually aren’t all that visually appealing unless they’re a bright color.
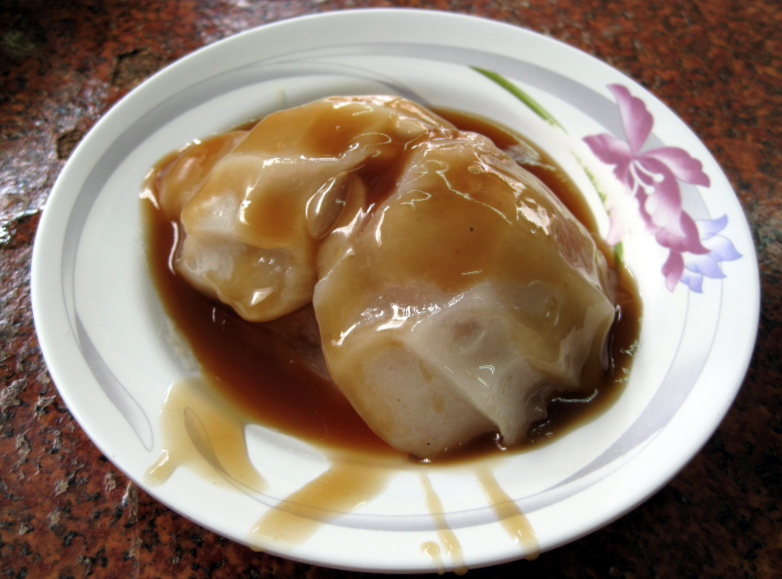
The fix for this? Going back to the first tip of this post, it can be preferable to show the sauce cooking instead; or even better, take it a step further back and show instead the fresh ingredients that are to be combined.
Cider, leek, and shallot sauce looks fairly dull in isolation. A row of freshly cut leeks alongside a pile of diced shallots, a bunch of parsley, and a bottle of frosty cider, however, looks fantastic.
5. Lighting: Less is More
As we mentioned in our post on portrait photography, the mastery of light sources is paramount to a good photograph.
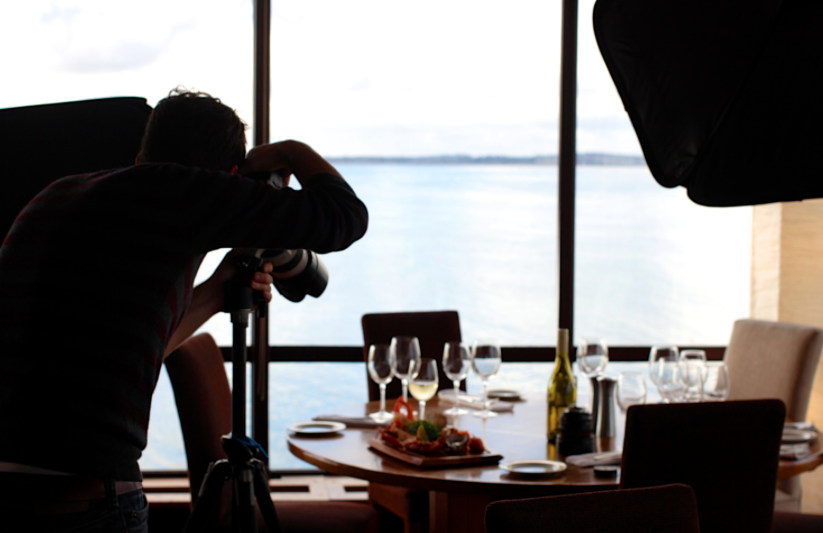
Unlike most other disciplines in photography, however, when it comes to food, less is more. In fact, try and limit yourself to only using a single light source wherever possible. It’ll create highlights, lowlights, and contouring in all the right places with minimum fuss.
Got any of your own killer food photography tips? Do you work professionally in the industry or attend our photography school? We want to hear your tricks and experiences – drop us a comment below!

