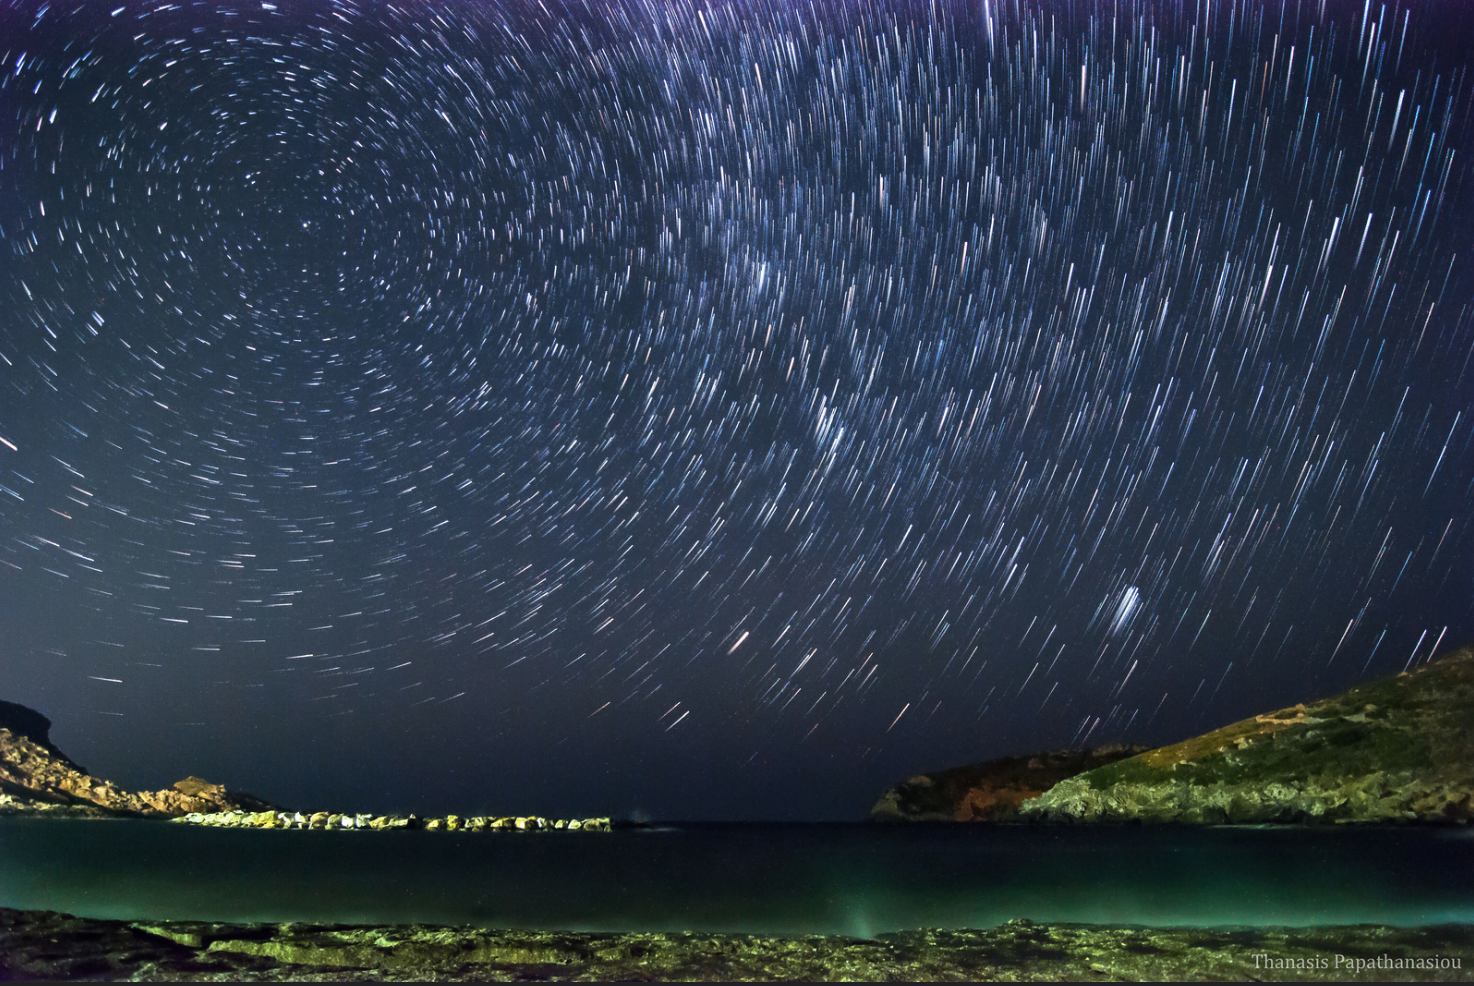
Have you ever seen a photograph that makes it seem as though all of the stars in the sky are spinning? Believe it or not, this effect is not difficult to reproduce, as long as you have the necessary equipment (and lots of patience).
The main thing to remember is that your camera is able to pick up on light that you can’t see with the naked eye. You could sit and stare at the sky all night and not see the stars budge a millimeter, yet leave your shutter open for a few hours and you’ll see that those stars are moving faster than you may have imagined. Scientifically speaking, you’re really capturing the movement of the Earth rather than the movement of the stars, but I won’t get too scientific.
Below are some tips on photographing star trails:
Equipment Needed
- A camera that can shoot in ‘bulb’ mode
- A wide angle lens (although any lens will work)
- A tripod (very important!)
- A cable release or remote shutter
- Plenty of time
- A clear night and a new moon
Choosing a Location
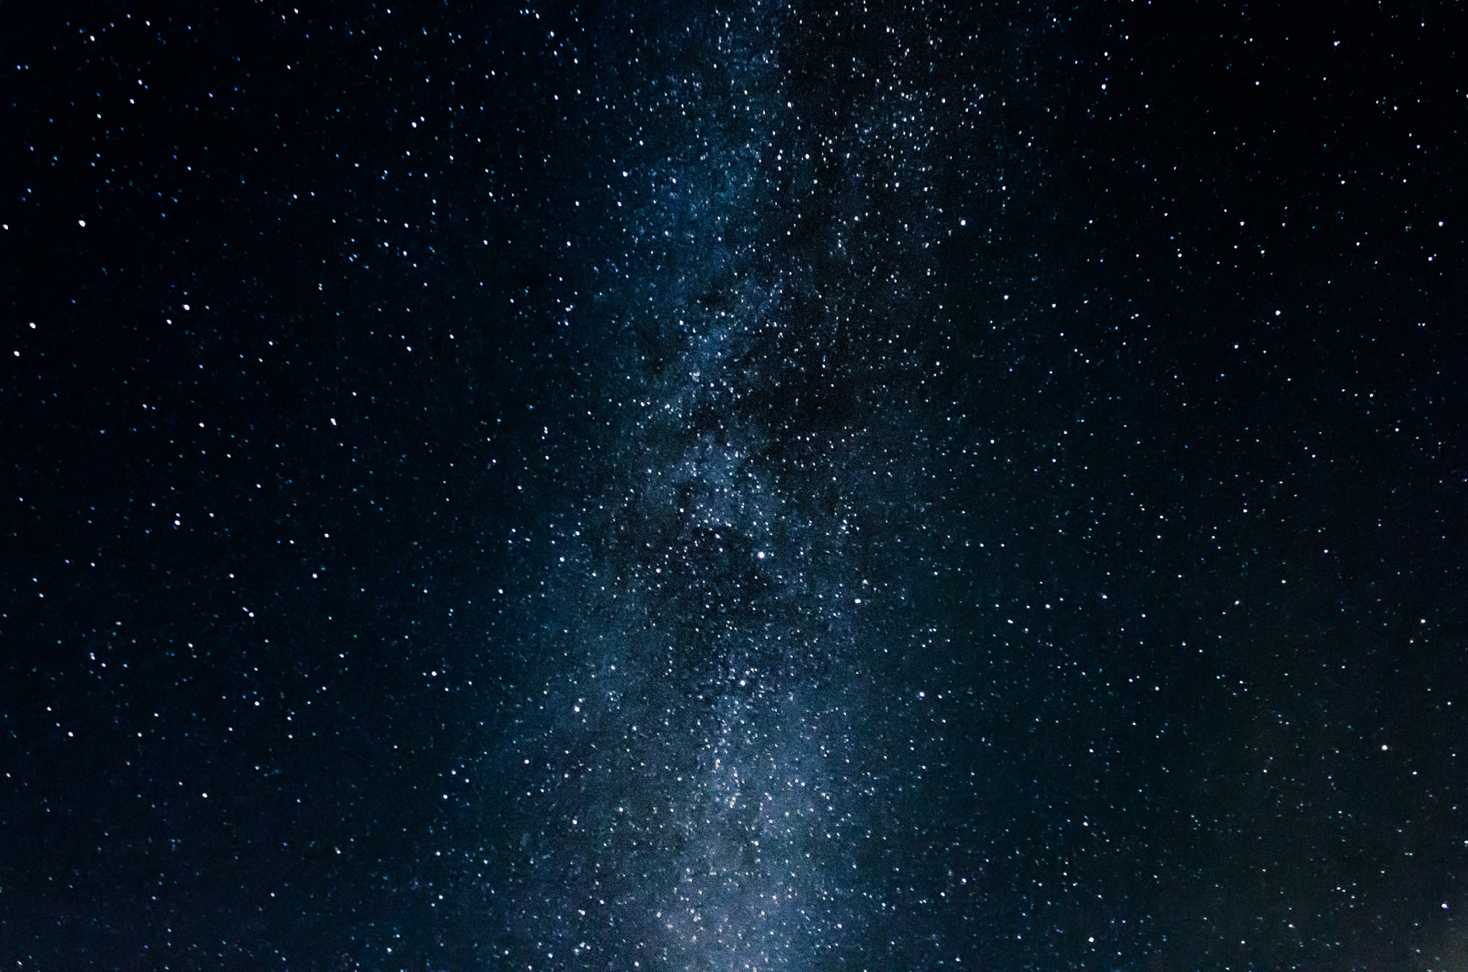
One of the most important decisions you will make when taking photographs of star trails is where you go to take the photographs. Because you’ll be using such long exposure, it’s important to be as far away from city life as you possibly can. Weather is another factor, since a cloudy night will not allow you to capture photographs of any stars, and if you shoot on the night of a new moon you’ll be able to see (and capture) many more stars. You can shoot during a crescent moon as well, but make sure that it doesn’t appear in your image.
If you can drive up to a mountain outside of the city, or are lucky enough to live in the desert or countryside, these will be your best locations. Too much light pollution and you’ll end up very frustrated and have no photographs to show for your efforts.
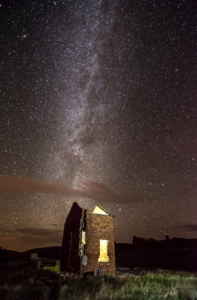
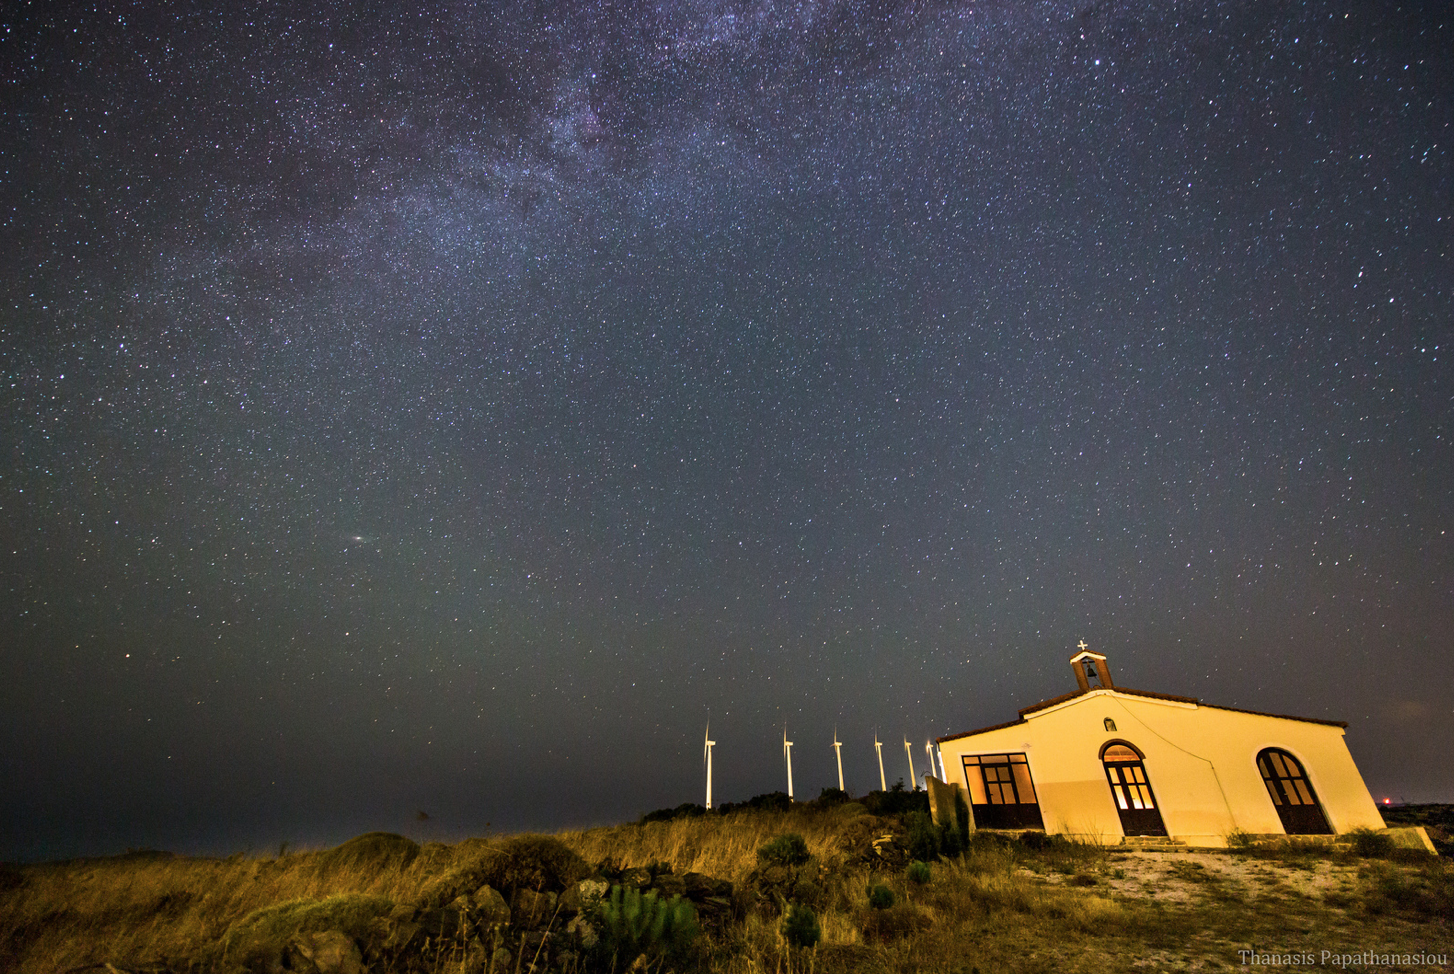
Consider also what is in the foreground and background of your image. You can choose to only photograph the sky, or you can add additional interest by photographing a subject in the foreground. Lighting the subject during the exposure is quite simple, and we’ll touch on that a little later.
Camera Settings
ISO: One of the most difficult aspects of shooting in low light is the amount of noise in the final image. In order to reduce the noise, shoot on the lowest ISO possible. Since you’ll be shooting on a tripod and using a long shutter speed anyway, this shouldn’t be a problem.
Aperture: Since your goal is to capture as much of the star’s light as possible, shooting wide open (at f/4 or wider) will allow you to capture more light per second than shooting at a higher aperture. Since the stars are moving much faster than you’re aware of, it’s important to capture as much light as possible. Since you’re capturing the stars, setting your focus ring to infinity will likely keep everything in focus. If you’re shooting a foreground subject as well, use a flashlight to focus before shooting. Don’t forget to set your focus ring to ‘manual’ so it doesn’t try to re-focus mid-shot!
Calculating Exposure: Since your exposures are likely going to be hours long, you’ll need to do a bit of conversion before beginning. To calculate the proper exposure for your shot, pump up your ISO to the highest setting. Play around with 30 second exposures at this ISO until you find one that suits your needs. Let’s say ISO 6400, f/5.6 and 30 seconds gives you the perfect exposure. In order to convert that to ISO 100, your new exposure would be f/5.6 and 30 minutes. With a bit of practice, you can start converting all of your exposures.
White Balance: I will always recommend shooting in RAW, so white balance is not a problem. For all intents and purposes, keep it on auto. If you want the scene a little warmer, shoot in ‘shade’ white balance. If you prefer it a little cooler, shoot in ‘tungsten’.
Lighting Foreground Subjects
There are a handful of ways to go about lighting foreground subjects, and all are fun to try. If you’re interested in seeing the results before shooting a longer exposure, try these tricks out with a 30 second exposure to begin with.
If you simply want something in the foreground to be lit up in the photograph, after opening the shutter, shine a flashlight on the subject (being sure to “paint” the entire subject with the light) for a couple of seconds, then turn the flashlight off and let the camera finish exposing. You’ll see in the resulting image that you have captured both the light from the stars and your foreground subject.
Another fun way to play around with light is using colored gels over your flashlight. This allows you to create a lot of very unique effects, such as lighting a window in an abandoned building or casting a rainbow of color through the trees.
Extra Tips
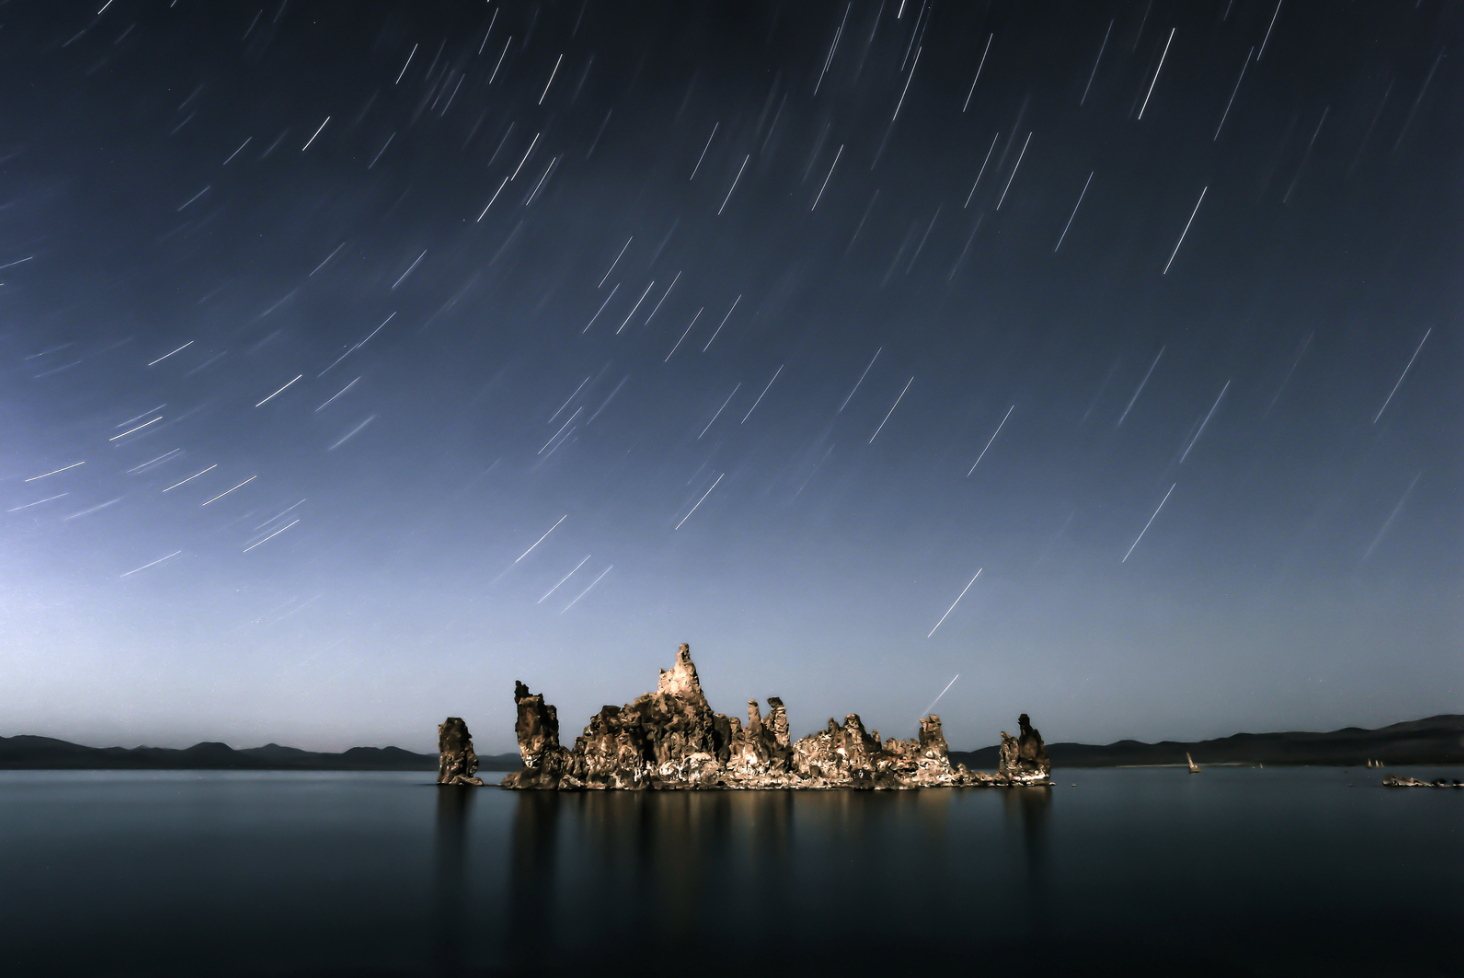
- Shooting with a telephoto lens will create longer star trails in a shorter amount of time, while shooting with a wide angle lens will create shorter star trails.
- Always shoot in RAW!! If need be, bring an extra memory card with you. This will save you lots of time and stress in post-processing.
- If you’re interested in creating an image where all of the stars travel around one central point, locate the North Star. The North Star is the last star on the handle of the Little Dipper. Find the Big Dipper (easy to spot on any clear night), and then locate the two stars that are on the opposite side of the handle. If you follow these straight upward, you’ll run right into the Little Dipper. All of the stars will rotate around the North Star, so make sure that it appears in your frame.
- Shorter exposures will result in beautiful star photographs but no rotation, so experiment!
- Stay warm, stay safe, and have fun!
The New York Film Academy offers photography workshops in Los Angeles year round. Sign-up today to reserve your spot.

