While the argument of HDR versus non-HDR remains heated, many photographers see that both technologies are useful tools for capturing precious moments, new perspectives, or the beauty of your location. The following are some tips to consider if you want your photos to share (as best you can) the feeling of being “there” in person.
Be Willing to try New Things
Ah, the joy of HDR: many times, the feeling is that nothing else compares anymore. But as you gain experience, you may be lucky enough to find new ways to experiment both with HDR, and without it. This includes scenes where lighting is even enough that one exposure is enough to capture the scene, along with highlights and shadows. It can also be worthwhile exploring alternatives to HDR when photographing moving people and objects.
Know When HDR is the Perfect Choice
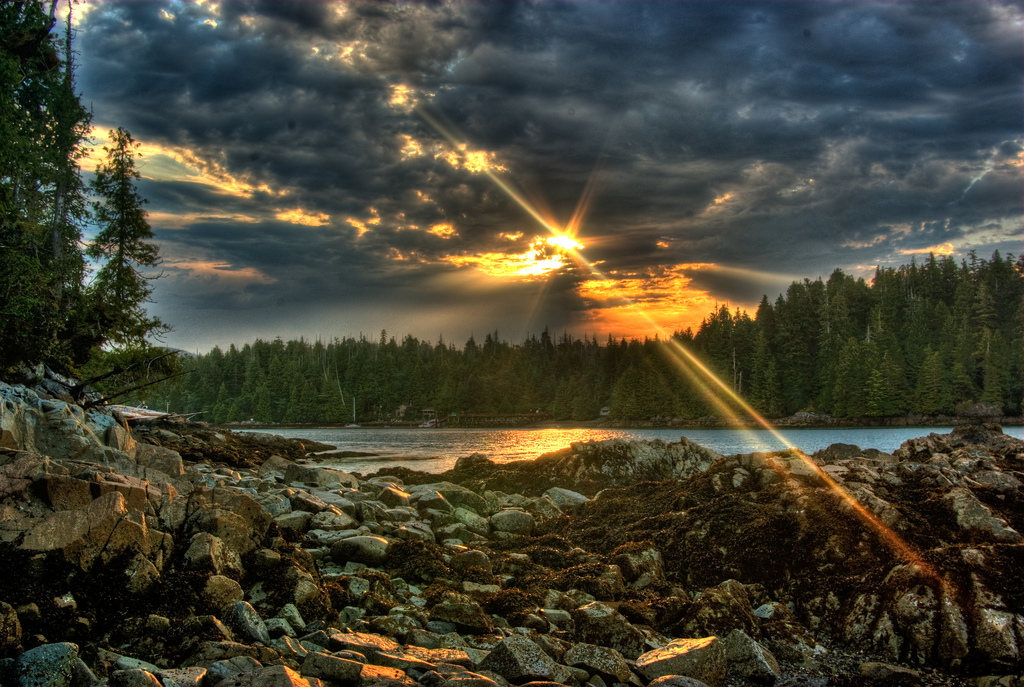
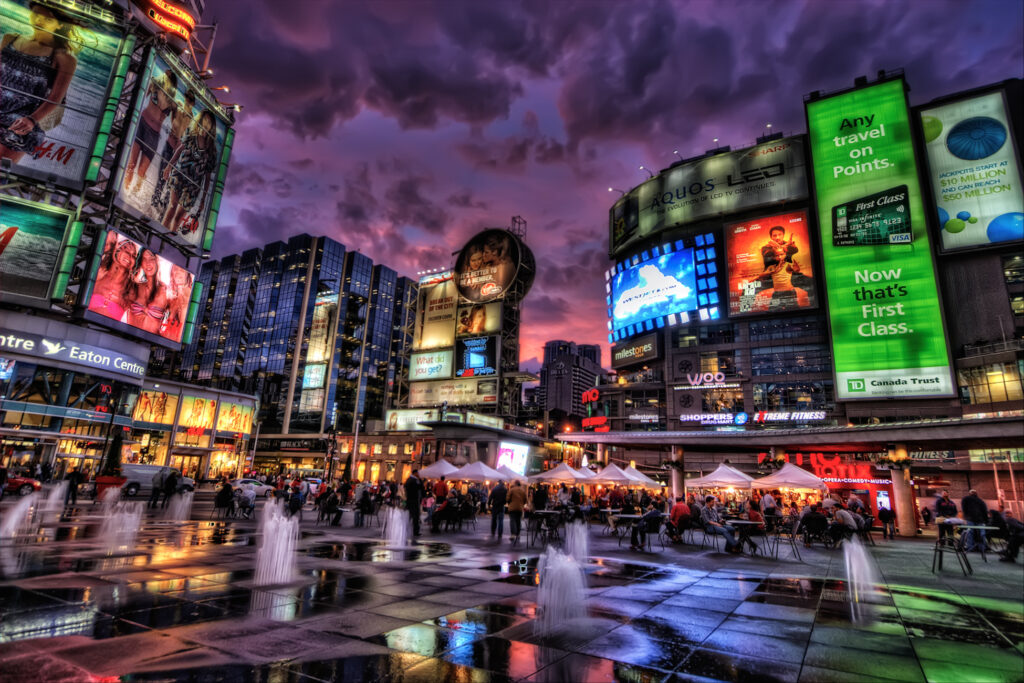
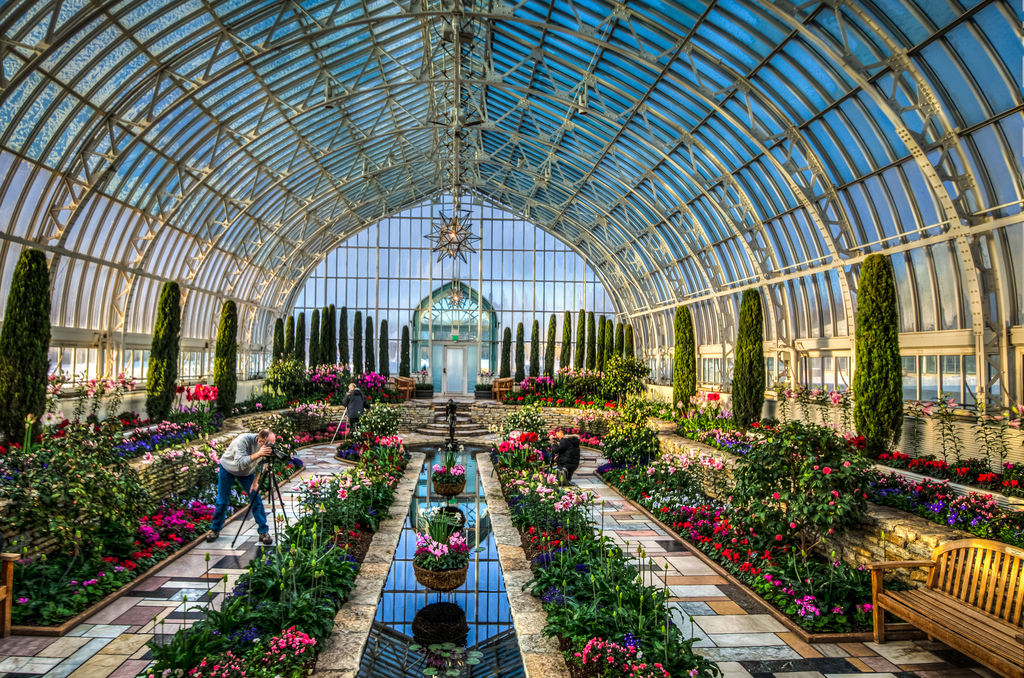
On the other hand, it’s also important for aspiring photographers to learn when HDR is the ideal choice. HDR’s unmatched ability to capture detail makes it perfect for taking shots of man-made objects, architecture, and more. Pictures of gorgeous landscapes with many shapes, colors and textures also come out great with HDR, even when shot during sunrise, sunset, and any time in between.
Bring the Tripod
This may seem like an obvious tip but we feel it’s still worth mentioning. Without a tripod, it’s difficult keeping your f/stop consistent between shots. This is very important if your goal is to capture the full dynamic range of a scene.
Master the Art of Tone Mapping
Or at least get familiar with a few of the many tone mapping software programs available today. Many consider tone mapping to be the heart and soul of HDR photography, but it’s also a slippery slope, as it’s easy to get carried away and create an unrealistic look to your photos — although, of course, that’s could be your goal. But if you’re aiming to capture the location as it would appear in real life, you’ll want to avoid strengthening colors too much. Although there are plenty of great free programs, the best come with a price tag.
Take More than One Exposure
A common mistake made by new HDR photographers is taking a single exposure and tone mapping it. Why doesn’t this work as well? The fewer images with different exposures you take, the less data you have to pull from in post-production. More levels of exposure data (easily boosted with multiple exposures) means superior high dynamic range for your photographs, especially with great landscape shots. This doesn’t mean you should always capture hundreds of photos with varying exposures for one image, but at least take enough so that you’ll have more to work with later.
Don’t Stick to Presets Alone
Pretty much every post-processing program out there today has several presets for you to use. These can be great places to start, but also don’t forget to grow and experiment past the presets. You’ll want to get to a point where you know which settings to play with in order to make your photos look as desired. By experimenting with all the available settings, including reading up on tutorials, you’ll eventually know how to fine tune your program’s settings to get your shots as close to perfection as possible.
Any other great tips to offer your peers on HDR photography? Let us know in the comments below!


