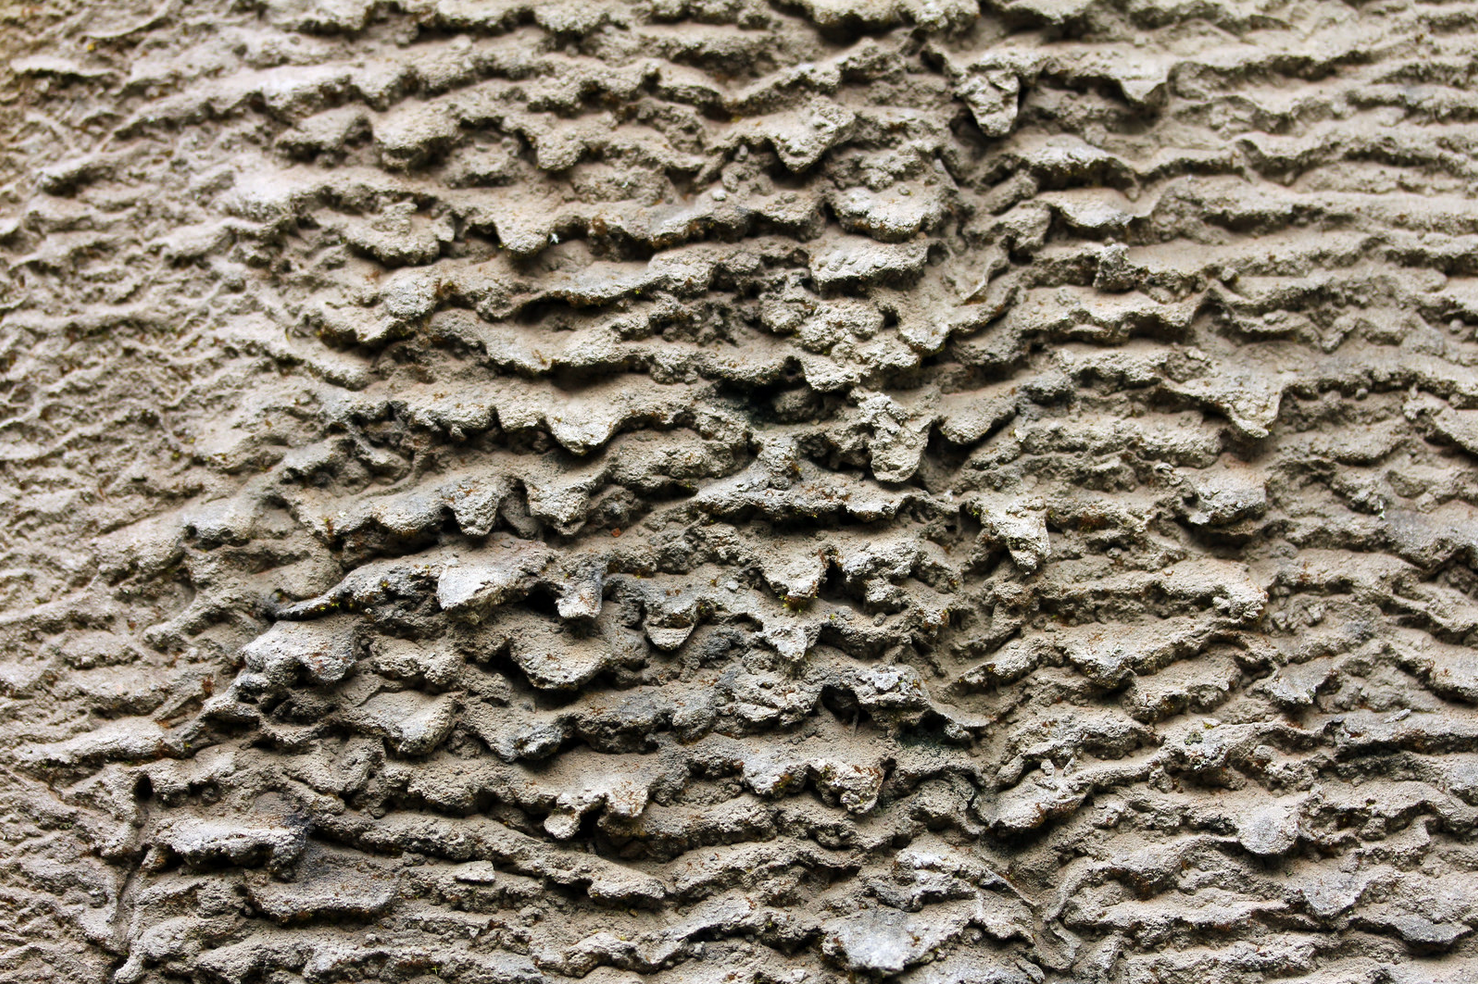
Texture – while it may seem like a very simple compositional technique – can actually be quite complicated to get the hang of in the beginning. The way that light and shadow and colors work in landscapes or portraits are not the same when it comes to photographs that include a lot of texture or pattern. Once you begin to recognize texture in everyday life, however, you’ll soon get more comfortable with the way in which it can enhance your photographs (or even become the main subject). Every single aspect of the texture becomes a crucial part of the composition, so everything from color to pattern to depth must be taken into consideration.
Finding Texture in Everyday Compositions
Before going out in the world and searching for texture, take a look at a recent collection of your own photographs. Do you notice any particular textures in any of your photos? Perhaps you took a photograph of sand on a beach, or a peeling wall in an abandoned house. Everything has a texture, whether it be a leaf or someone’s hair – although some textures are more visually interesting than others.
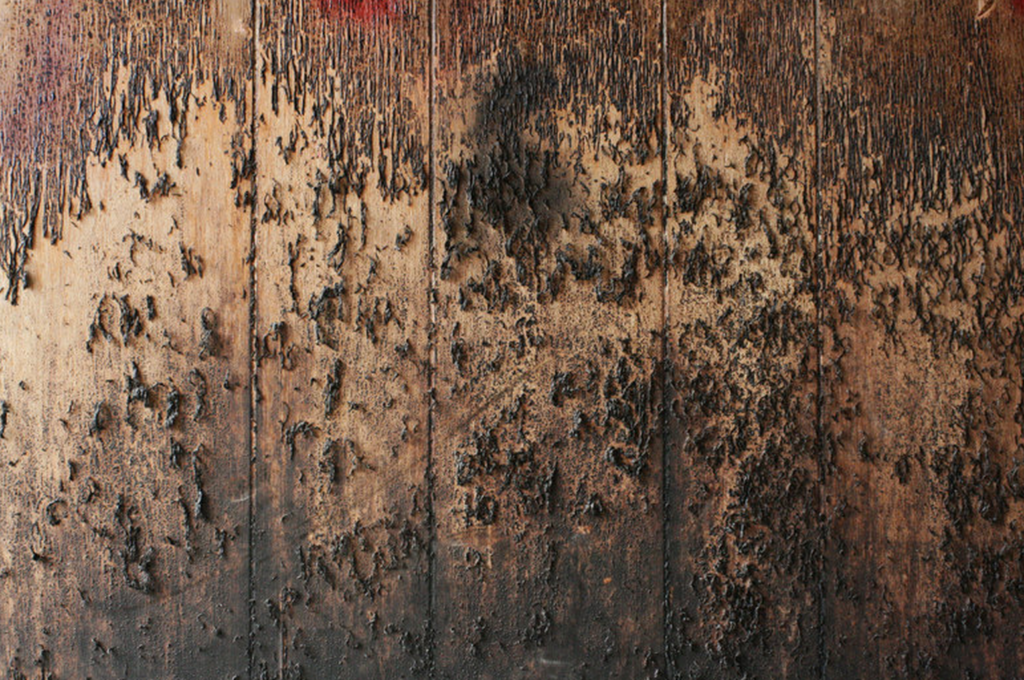
Because of this, finding interesting textures is the most difficult part. Think about the natural textures of rust or peeling paint or an oil slick. The more you begin to think about texture as you explore the world around you, the more you will find. Take this photograph of the wall of an abandoned house, for instance. Would the wall of your house be this interesting to photograph? Because of the mold and peeling paint of this wall, it creates a more dynamic composition.
Creating Texture
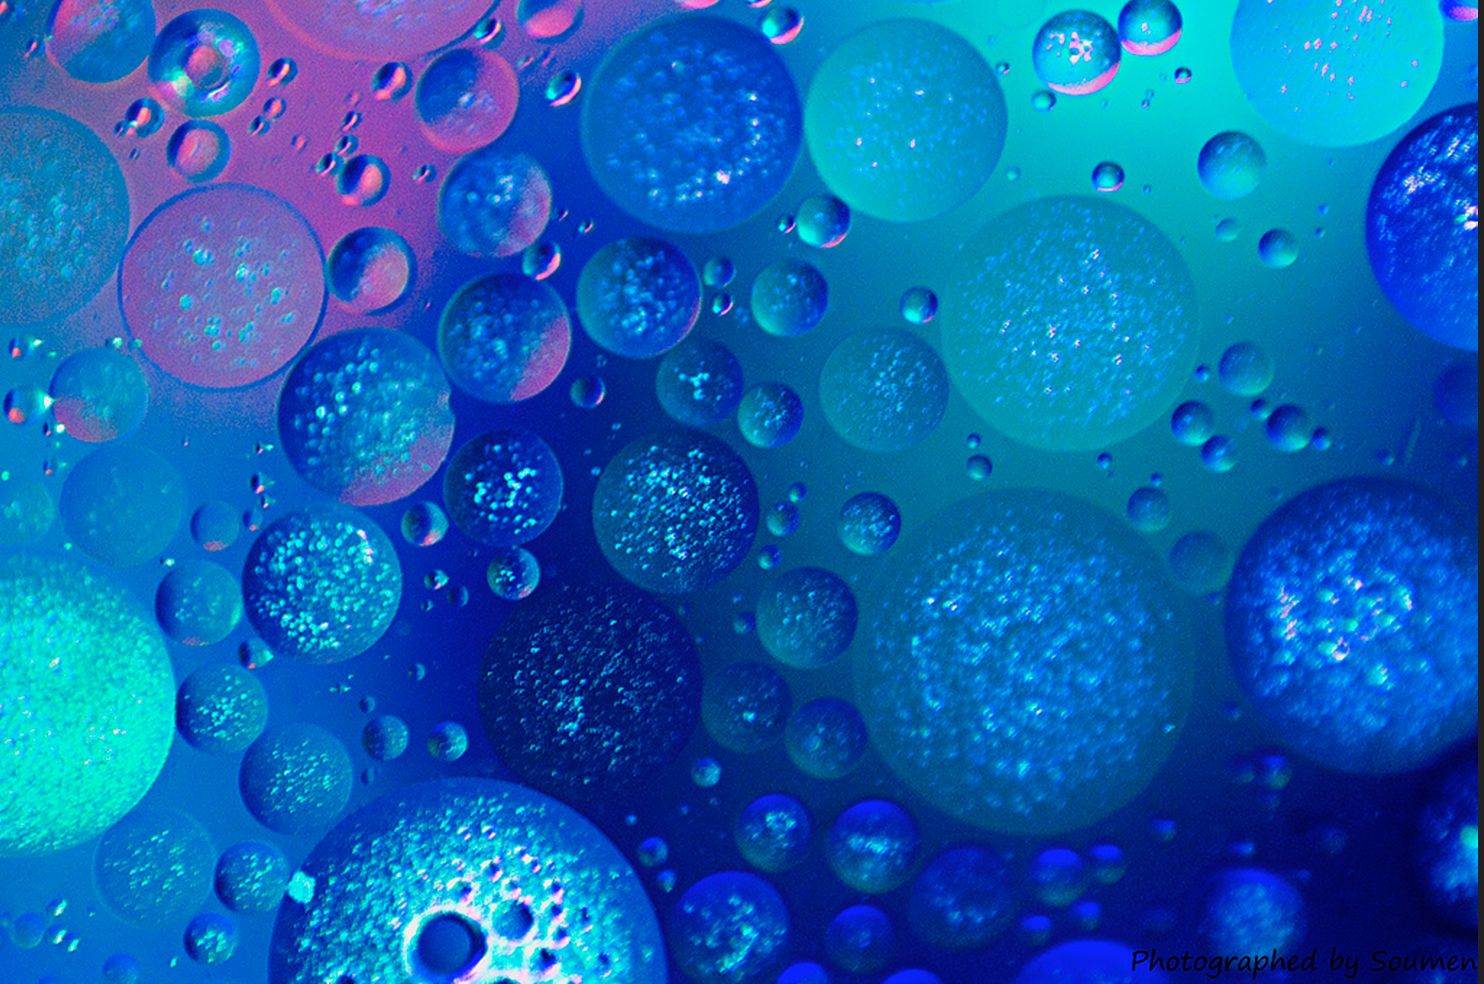
If you’ve been exploring the world around you and you can’t seem to find a texture that interests you, why not create your own? With a little bit of creativity, you can mix together food coloring, oil, paint, mud, sand, dirt – anything you can think of! This way, you have complete creative control over the final outcome. Experiment with a couple of different mediums until you find a combination that works for you.
A combination of oil, water, and food coloring may be the place to start. By mixing together different amounts of all three of these substances, you can create beautiful, abstract images of a subject that is constantly changing, such as the photograph below.
Shadows
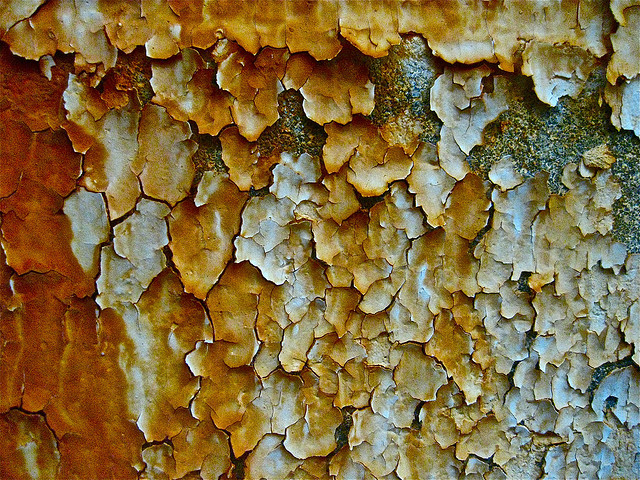
When focusing on texture in composition, it’s important to concentrate on both the light and the shadow within the texture. Without shadows, the texture can look flat and uninteresting. The contrast created by the difference in light and shadow is what will make the overall photograph appear to be 3D and lifelike.
Take for example this next image. You can tell that light is coming in from the side of the photograph – and is likely natural light – creating a contrast of light and shadow that really bring the image to life; it almost seems as if you could reach out and touch it.
While shadows and contrast are extremely important in images of texture, it’s also important to make sure that the light isn’t too harsh. A contrast that is too intense can make parts of the image overexposed and leave other parts underexposed; while some photographers aim to do this, it’s important to understand when it makes an image more aesthetically appealing, and when it takes away from the image.
Angle and Depth of Field
Textures don’t always have to be shot head-on. Get up on a ladder or lay down on the ground; you never know what the texture may look like from a completely different angle!
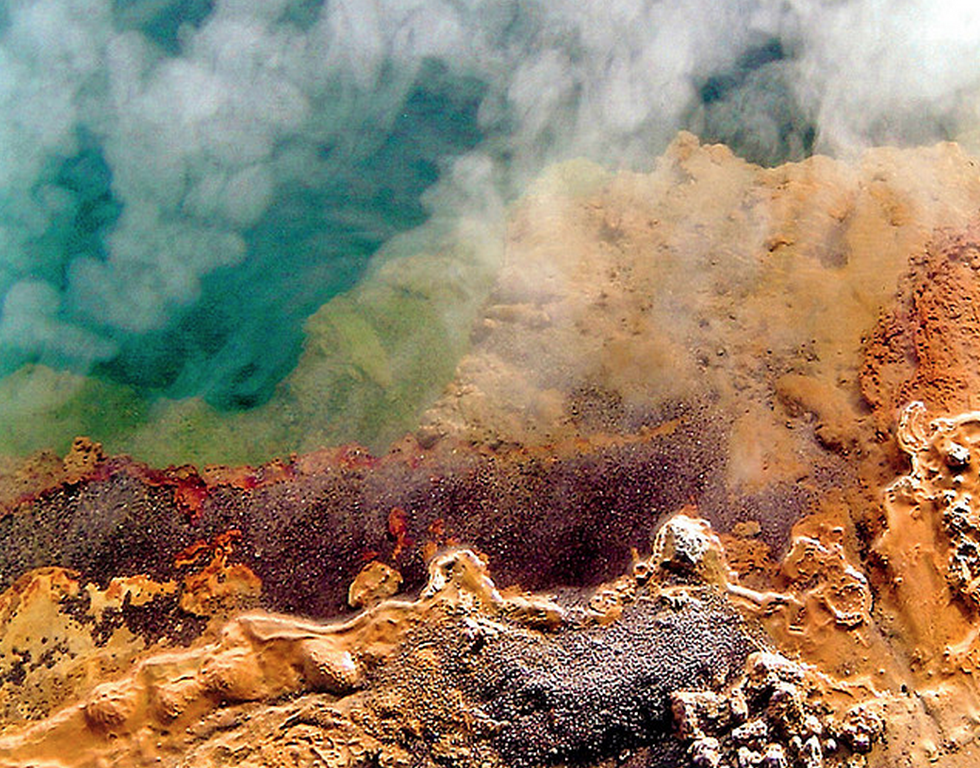
In the abstract photograph of the geyser above, it can be difficult to tell exactly what you’re looking at. Once you realize what the subject is, you can begin to figure out that the photograph was taken from a slightly birds-eye view, yet the combination of colors and textures leads to an incredibly visually appealing image. The photographer chose to incorporate many different textures, leading to a more interesting composition.
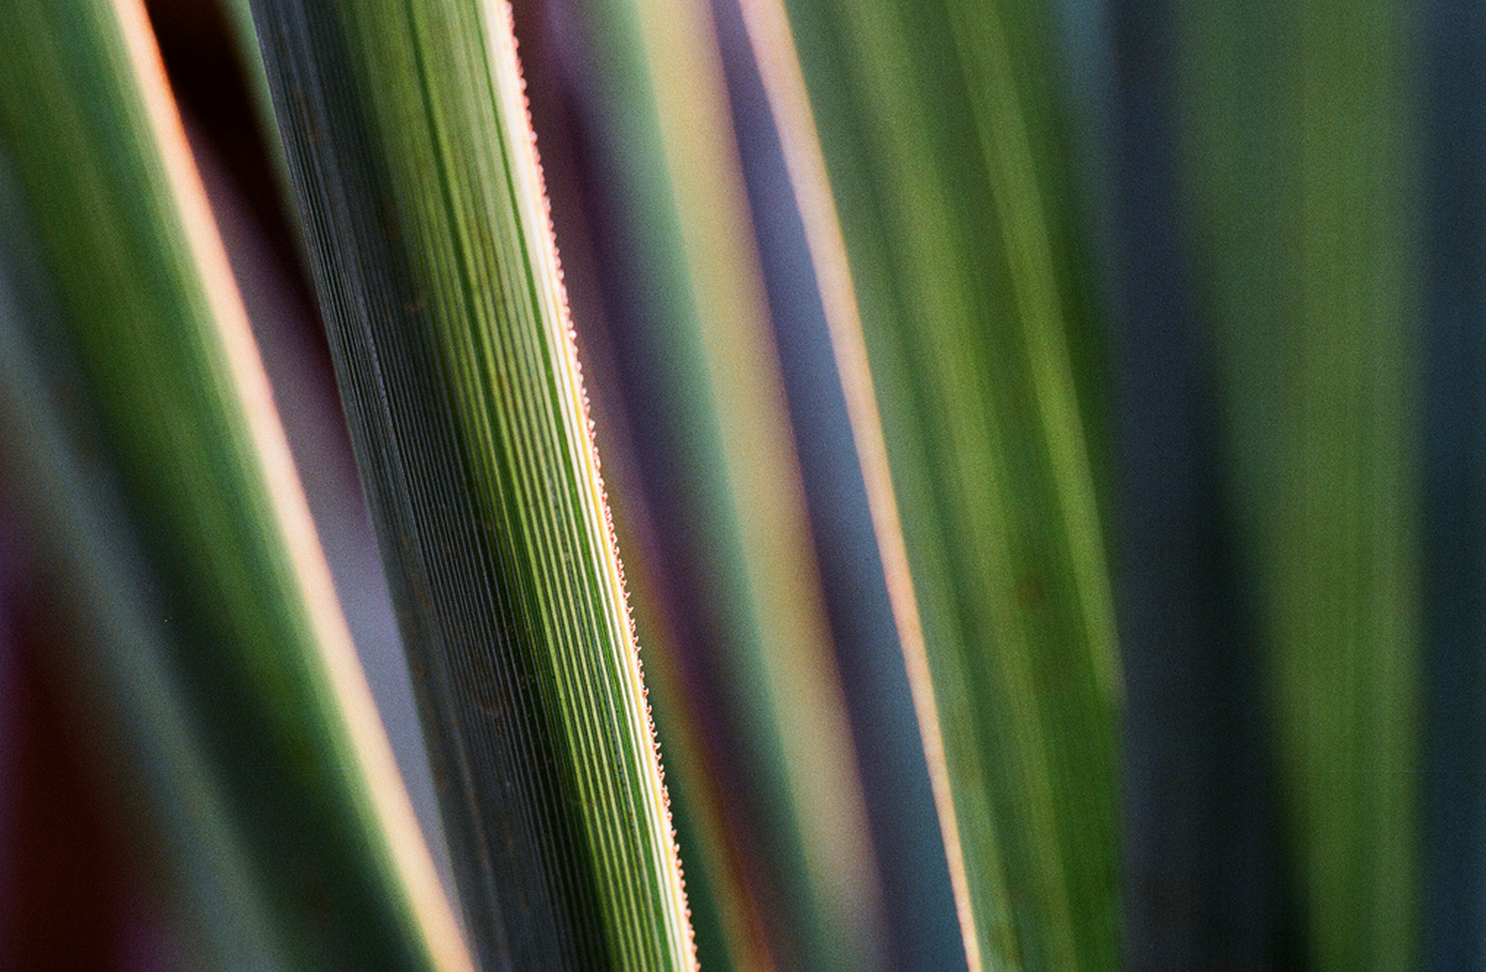
Choosing to photograph a texture at a smaller depth of field can also lead a more visually appealing and abstract image. In the photograph below, the focus is solely on the texture of a serrated leaf. By choosing to use a shallow depth of field, the photographer made the image much more abstract and interesting than it would have been if the subject matter was easily recognizable.
Equipment Needed
Alright, alright, now that you know how to look for textures and create interesting compositions, what do you actually need to photograph them?
- DSLR camera
- Tripod
Yep, that’s it! While rummaging around in abandoned places will likely require an external flash (and likely a face mask to avoid asbestos exposure), you can create beautiful abstract images of texture with just a digital camera and a tripod.
Camera Settings
Unless you’re aiming to create an abstract image by focusing on one particular point of the texture, you’ll likely want the entire composition in focus. Because of this, you should aim to start out with an aperture of f/8 or f/16 and then work from there. This way, you won’t have any unwanted blurry parts of your image. This is where your tripod comes in handy: in order to reduce camera shake at this small of an aperture, you’ll need to stabilize your camera.
Shutter speed doesn’t matter too much if you’re using a tripod, but if you’re photographing a subject such as a leaf or grass that may be moving in the wind, you’ll want to shoot at a higher shutter speed (faster than 1/60) in order to capture the motion without blur.
Your ISO should be set low – 100 or 200 – to ensure that no unnecessary grain is present in your final image.
And, as always, I recommend shooting in RAW format if you plan on doing any sort of post-processing on your images!
*Optional equipment includes an external flash (to create shadow when there is none), colored gels (to add a pop of color), or a macro lens (to take photographs up-close that are even more abstract).
*Not optional: your imagination and creativity!! Get out there and have fun!
[su_note]To learn more about photographing texture and other advanced photography techniques sign-up for a photography workshop at the New York Film Academy today![/su_note]

